**The content on Healthy Farmhouse is based on our family’s personal experiences and may not be the perfect fit for everyone. Prior to reading my tips for cleaning an oil diffuser or any other health-related information on this site, I encourage you to read our full Health Disclosure to learn more.
Using Essential Oils
With the wide range of essential oil uses, we pretty much view these tiny amber bottles as liquid gold in our house.
Our family uses essential oils for everything from cleaning the stove to making immunity tea.
They are seriously that good, you guys!
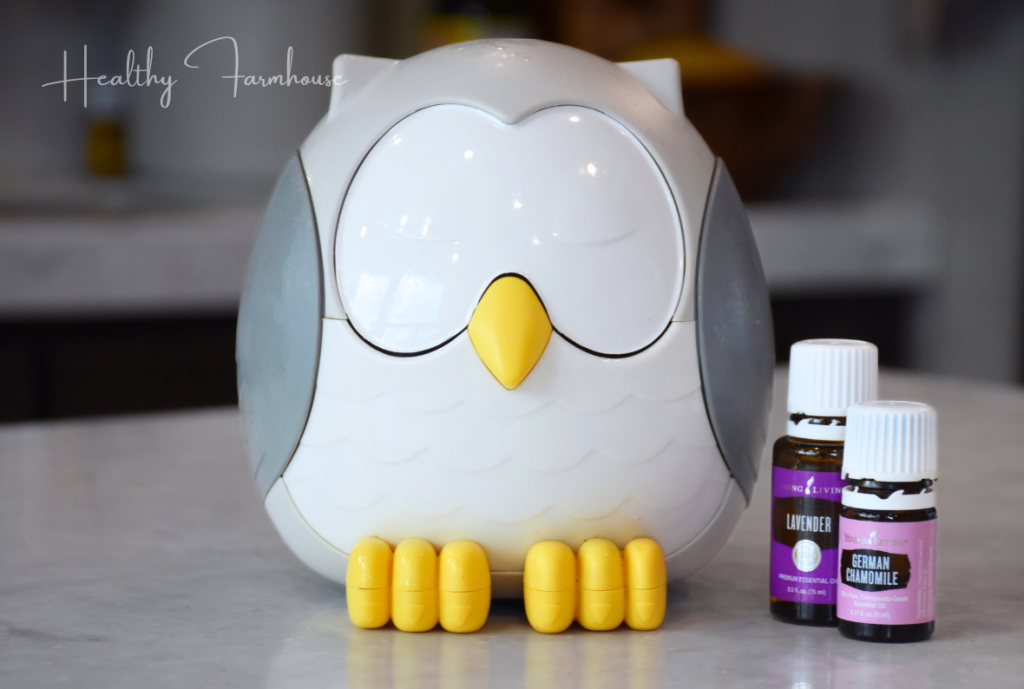
If you are new to using essential oils in your home, it’s important to start small and grow your collection over time as you learn more about them.
I always encourage people to start with one of our most-used oils, lavender oil.
We use this oil aromatically and topically, and have even been known to add a drop to capsules or tea from time to time.
All that said, if you have landed on this post, it’s likely that you already have an oil collection and are in need of diffuser cleaning advice instead!
So, without further ado, check out 3 simple ways to clean an oil diffuser below.
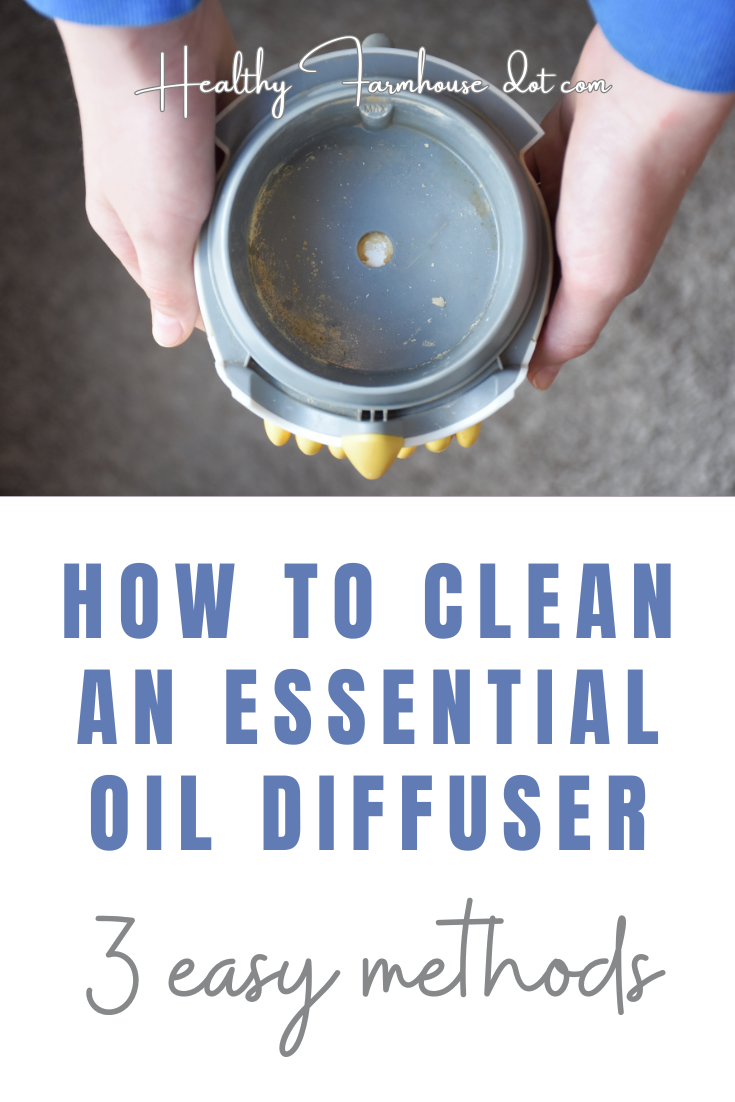
3 Ways to Clean an Oil Diffuser
Over time, essential oils and hard water can cause build-up inside your diffuser, causing it to work less effectively or even sometimes causing a musty smell.
That’s why cleaning your diffuser once every few weeks is essential.
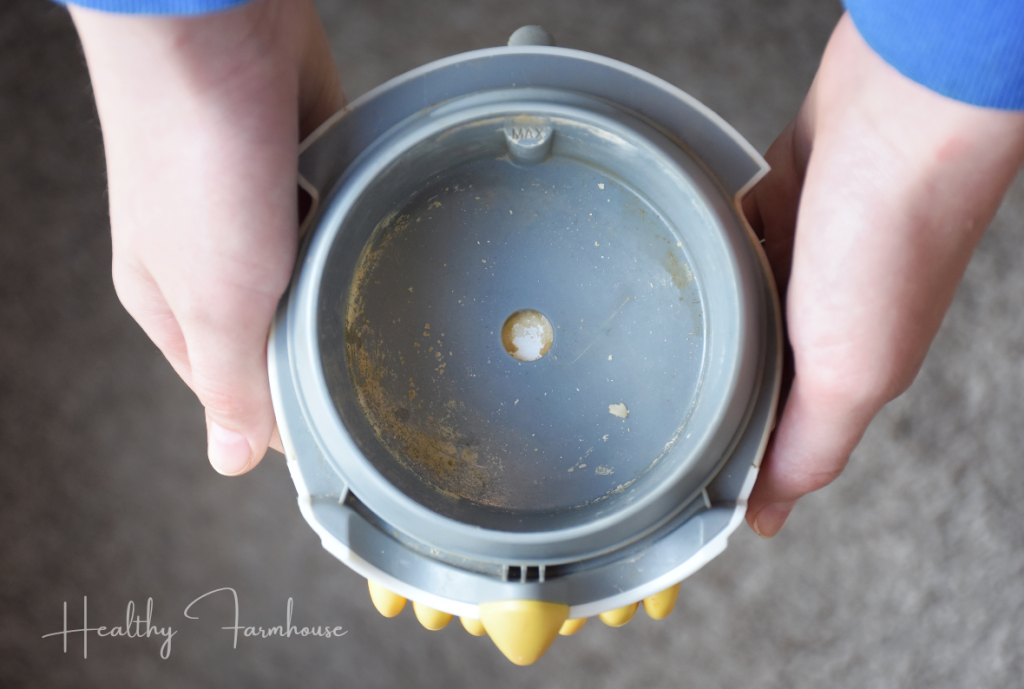
Being an RV family who began this lifestyle after a cross-country move and living out of boxes for 6+ months, this particular diffuser had been in storage and not used for some time, so it was in some serious need of a good soaking.
When we first started our oily journey over 10 years ago (wowa, has it really been that long?), I knew absolutely nothing about oils, let alone how to clean an oil diffuser.
That said, I’ve since tried multiple different methods for cleaning an oil diffuser and I’m excited to share 3 of them with you today!
No worries, I will definitely let you know which one I favor as well.
-
The Traditional Method
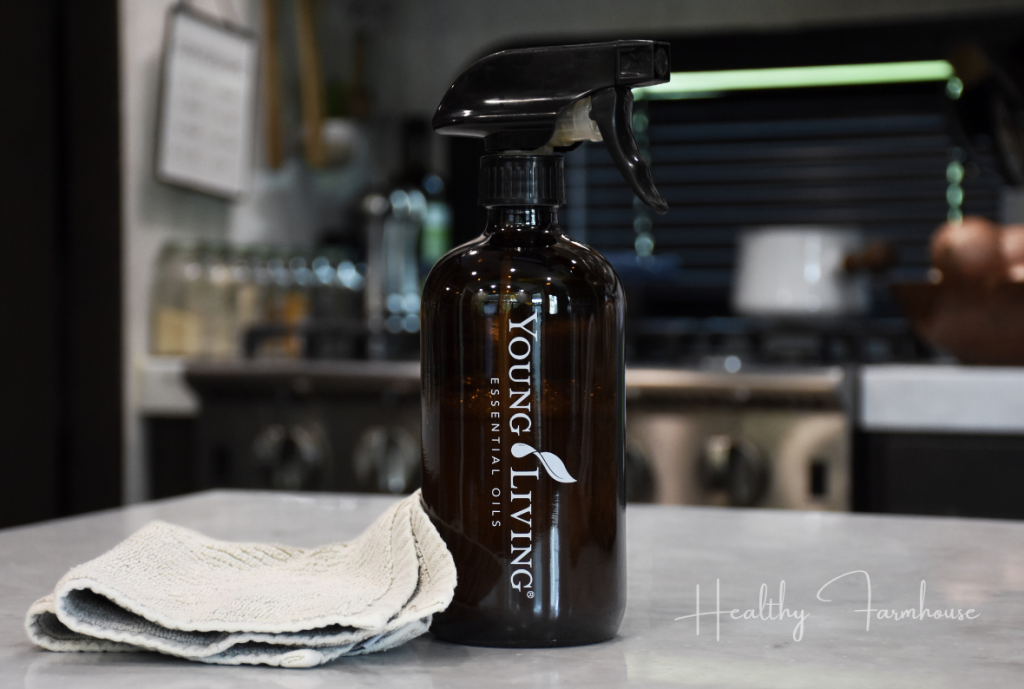
What I consider to be the traditional method for cleaning an oil diffuser is leaning on a green cleaner.
For our family, that means Young Living’s Thieves cleanser.
First, take your diffuser apart (pulling the top off and unplugging).
Then, simply spray the inside portion with your green cleaner of choice.
I typically let this sit for a few minutes before scrubbing and rinsing.
If your diffuser gets cleaned on a regular basis the build-up should be light, making this an easy solution for cleaning your diffuser
-
The Vinegar Method
While this method is similar to the above method, it can be a better option if your diffuser has some pretty significant buildup.
As mentioned above, start by taking your diffuser apart and unplugging it before continuing.
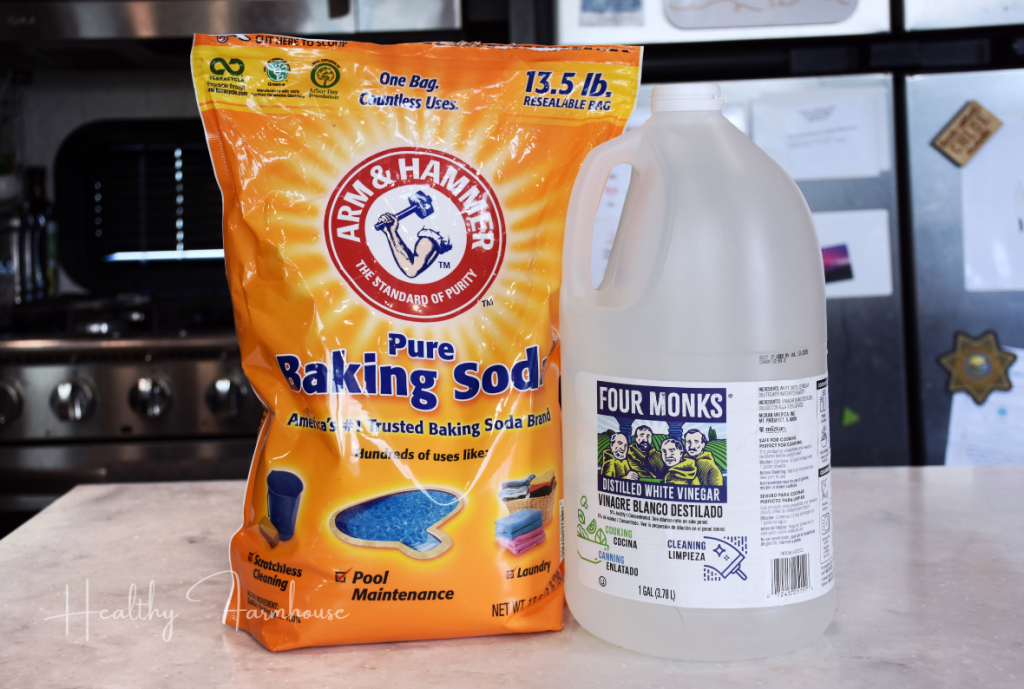
First, sprinkle a small layer of baking soda into the bottom of your diffuser.
Then, add a splash of white distilled vinegar, letting the bubbly mixture take care of some of the scrubbing for you.
Let this sit for 3-5 minutes before scrubbing and rinsing.
Just be careful with this method as the combination of baking soda and vinegar can easily overflow and get into the electrical components of your diffuser.
Use very little baking soda and slowly add in your vinegar.
-
The Soak Method
Finally, my method.
While the other top diffuser cleaning methods are simple enough, this one truly takes the cake, you guys!
I had been cleaning my oil diffuser the traditional way for a couple of years when I had someone suggest this method to me and I will forever be grateful for that awesome piece of advice!
Again, pull your diffuser apart and unplug it before cleaning.
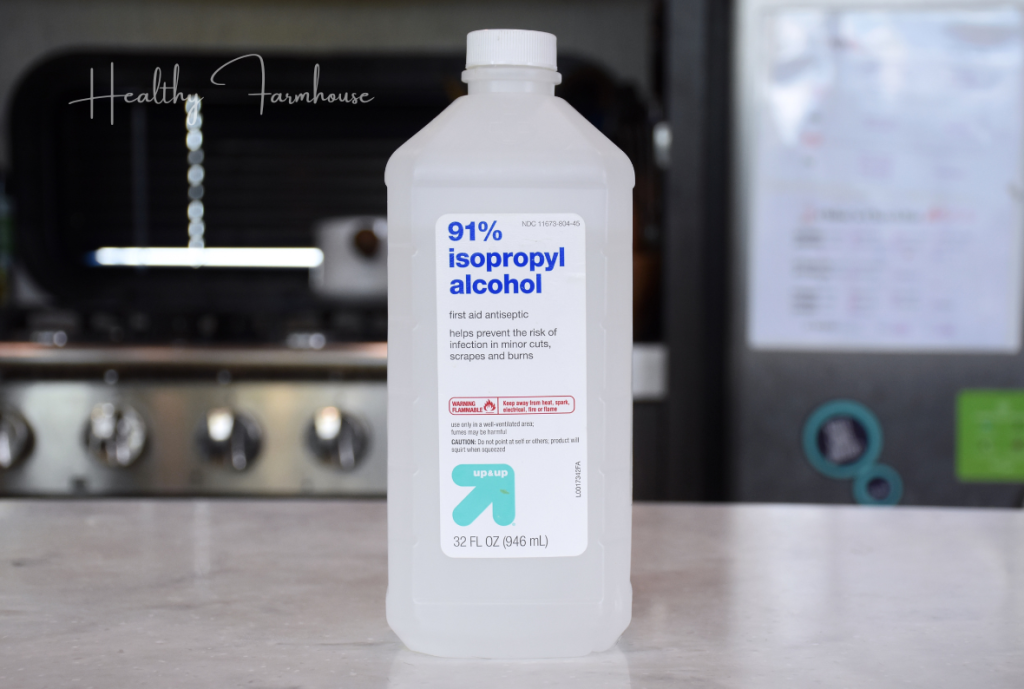
Are you ready for just how easy this next one is, you guys?
First, fill your diffuser base half full with rubbing alcohol.
Then, let it sit for 30 minutes (yup, you read that right, 30 minutes, you guys!).
Finally, give it a little scrub and rinse it out.
Maybe I like this method most because it truly works better than the rest or maybe I like it more because I’m just a tad bit lazy.
Either way, it’s definitely my go-to, you guys!
That said, I still encourage you to try all 3 methods to find your favorite.
Using Your Clean Oil Diffuser
Now that your diffuser is clean, the build-up is gone, and the musty smell is history, it’s officially time to use it again!
Call me crazy, but I always like to run my diffuser right after cleaning it because there is just something wonderful about knowing it’s fresh and clean again.
Once your diffuser is fresh and clean, I encourage you to try some of our favorite blends and recipes!
Check back soon for spring and summer diffuser blends on Healthy Farmhouse.
While you’re waiting, check out this simple blend I love for wintertime!
